27 Studio Apartment Layout Ideas
Studio living challenges you to maximize every square foot while maintaining style and functionality.
Smart layout strategies transform cramped quarters into comfortable, organized homes.
You can create distinct living zones without walls using clever furniture placement and design tricks. These ideas work regardless of your studio’s size or shape.
Your small space will feel larger and more livable with the right approach to layout and organization.
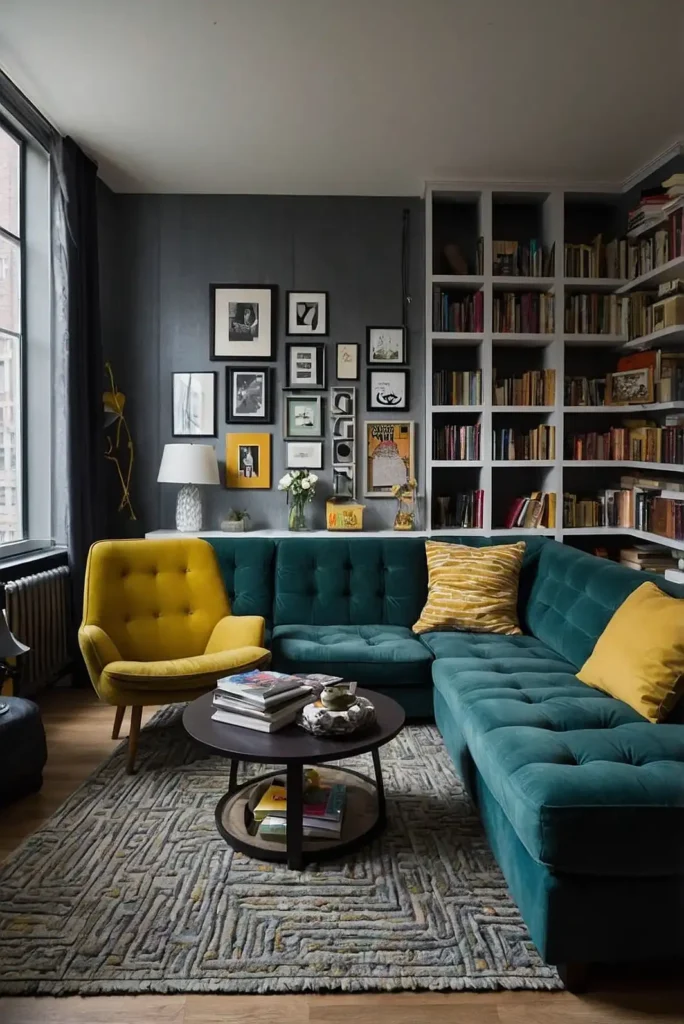
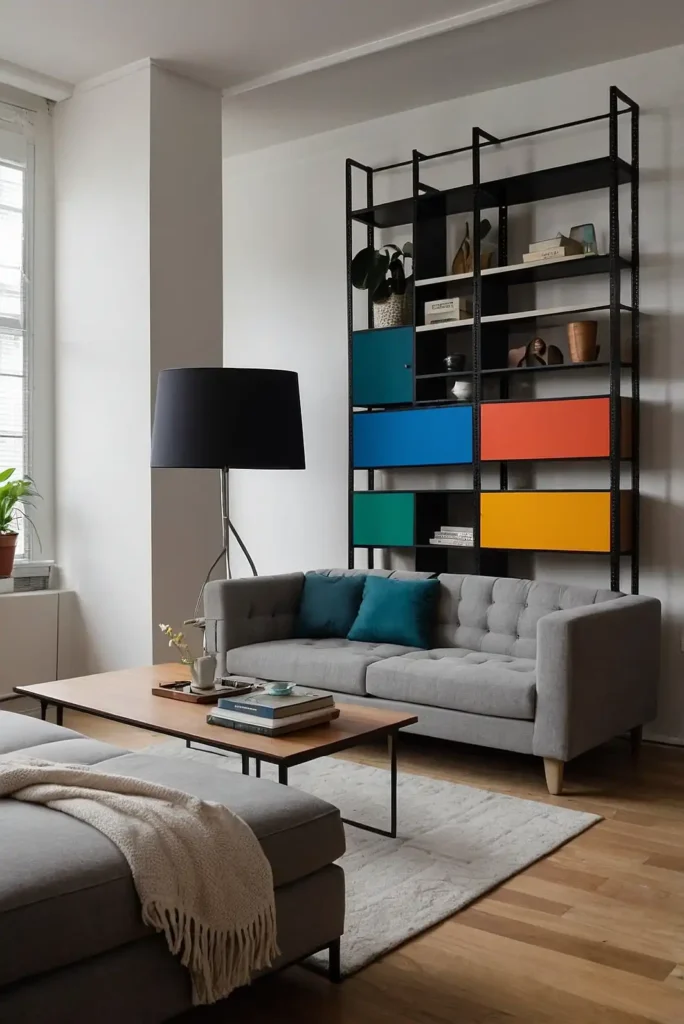
1: Create a Room Divider with Bookcases
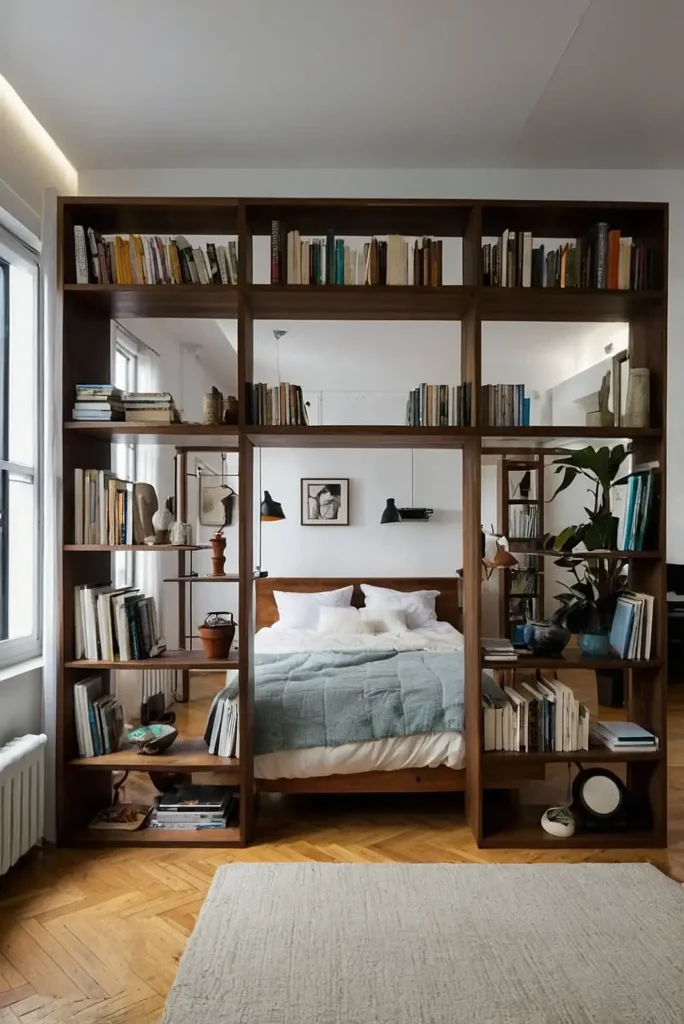
You can separate your sleeping area from your living space using tall bookcases that don’t reach the ceiling. This maintains an open feel while creating privacy.
Choose units with open backs to allow light flow between zones. The shelving provides valuable storage for books, decor, and personal items.
Position the bookcase perpendicular to a wall for maximum division effect. You’ll create two distinct areas without sacrificing natural light or airflow.
2: Use a Murphy Bed for Dual-Purpose Space
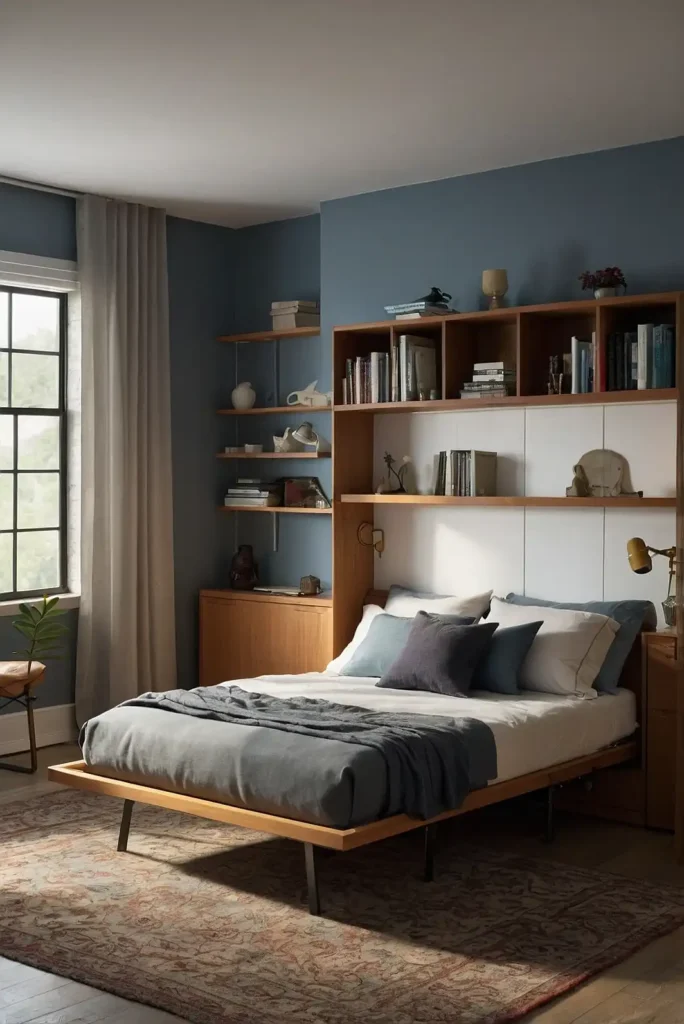
Transform your bedroom into a living room instantly with a wall-mounted Murphy bed. You can reclaim floor space during the day for other activities.
Modern Murphy beds come with integrated storage and desk options. They fold away completely, leaving no trace of sleeping space behind.
Choose models with attractive fronts that blend with your decor. You’ll have a functional living room that converts to a bedroom nightly.
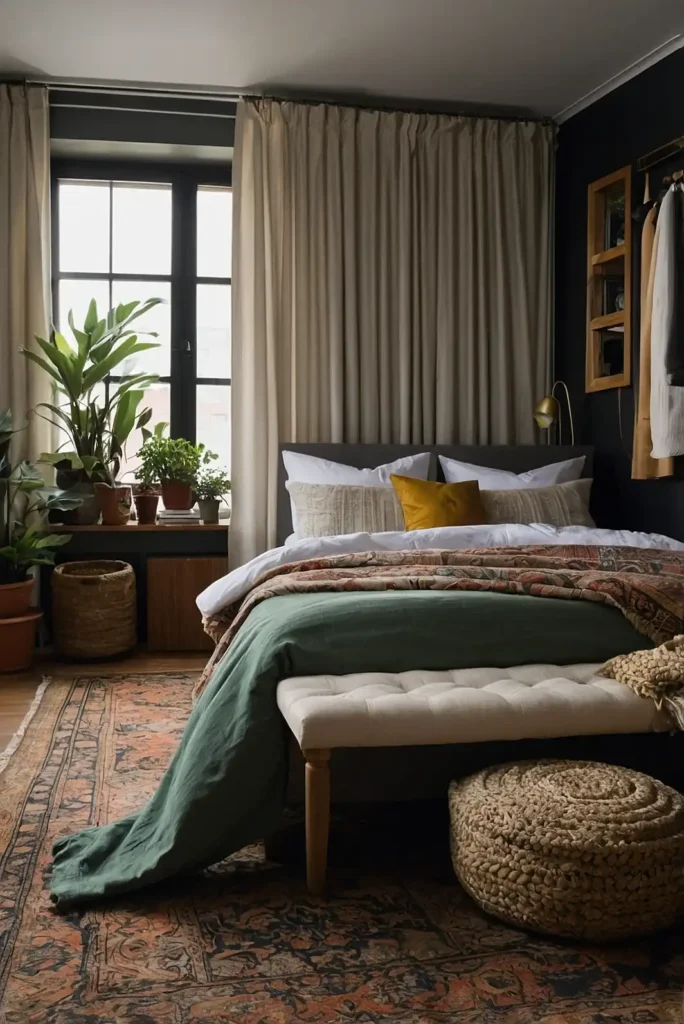
3: Position Your Bed in a Corner Nook

You can tuck your bed into a corner to create a cozy sleeping alcove that feels separate from main living areas. This arrangement maximizes your floor space.
Add curtains or a canopy for extra privacy and intimacy. The corner placement makes your bed feel like a built-in feature.
Use the wall space above for floating shelves or artwork. You’ll create a bedroom sanctuary within your studio layout.
4: Implement a Galley Kitchen Layout
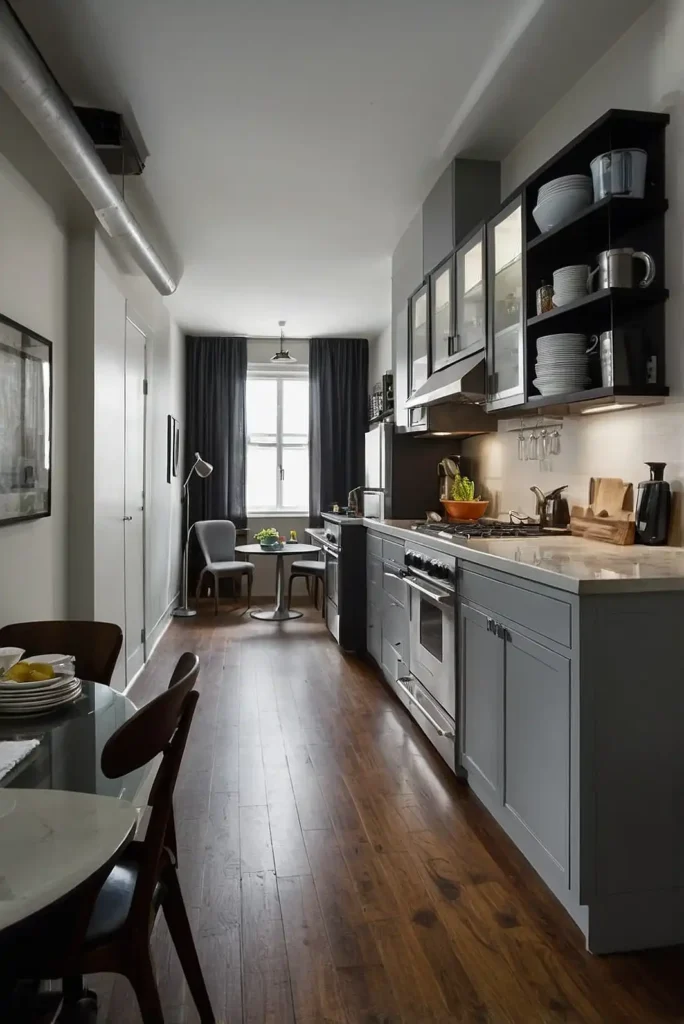
Arrange your kitchen along one wall to maximize efficiency while preserving open living space. You can fit all essential appliances and storage in minimal square footage.
Use vertical storage to keep counters clear and functional. Wall-mounted cabinets and open shelving maximize your storage capacity.
Choose light colors and reflective surfaces to prevent the galley from feeling cramped. You’ll have a fully functional kitchen that doesn’t overwhelm your space.
5: Create a Dining Nook with a Small Table
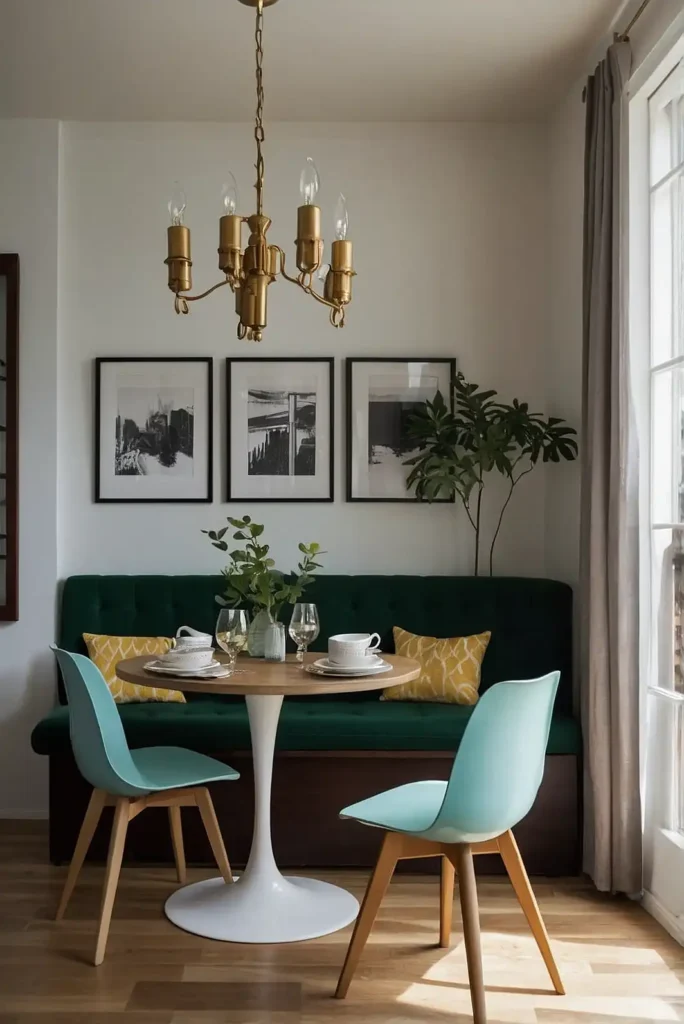
You can designate a specific dining area using a small round table positioned strategically near your kitchen. This establishes a proper eating space.
Choose a table that fits two comfortably without overwhelming the area. Round tables work better than rectangular ones in tight spaces.
Add a pendant light above to define the dining zone clearly. You’ll have a designated eating area that feels intentional and organized.
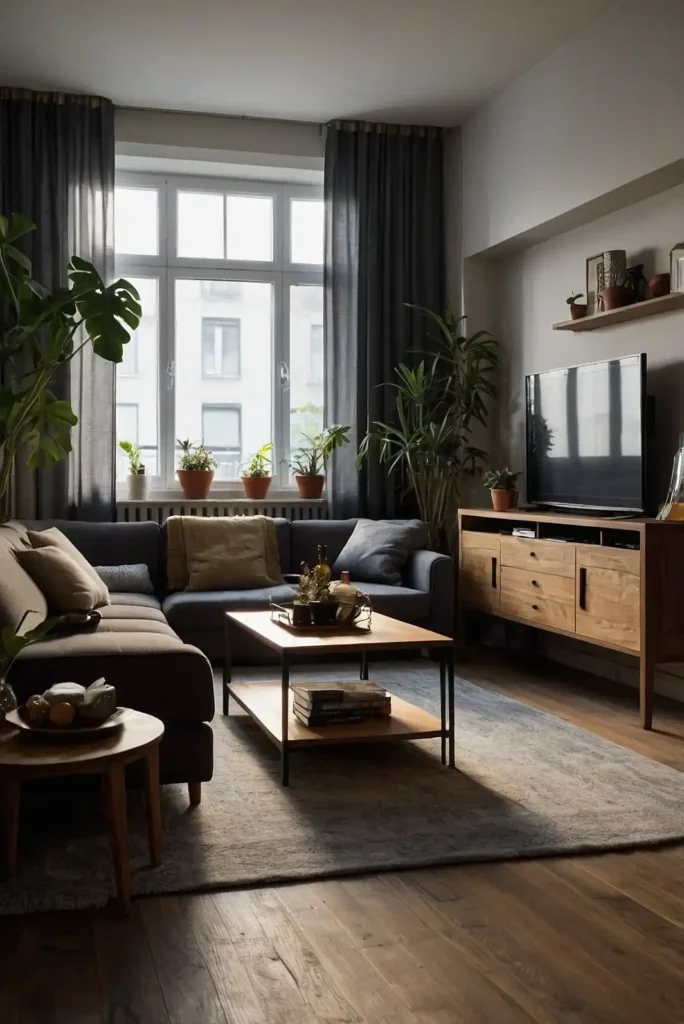
6: Use Low Furniture to Maintain Sight Lines
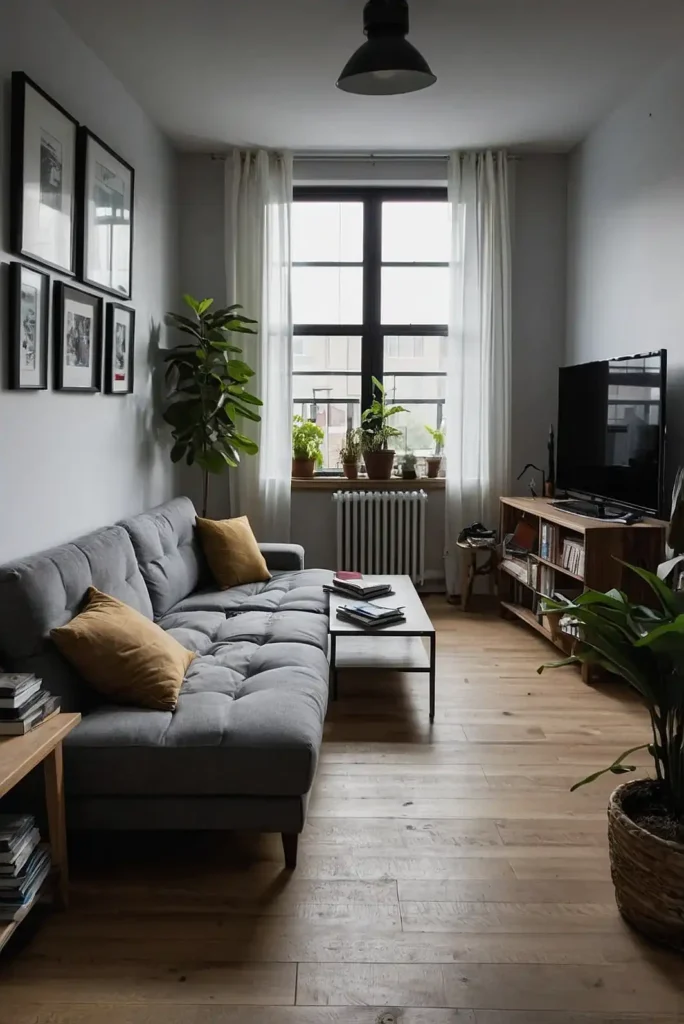
Keep your furniture low to the ground to maintain visual flow throughout your studio. You can make your space feel larger and more open.
Choose sofas, coffee tables, and storage pieces that don’t block views across the room. This creates an airy, spacious feeling.
Low furniture allows natural light to travel freely throughout your space. You’ll maximize both actual and perceived square footage effectively.
7: Install a Loft Bed for Under-Bed Living
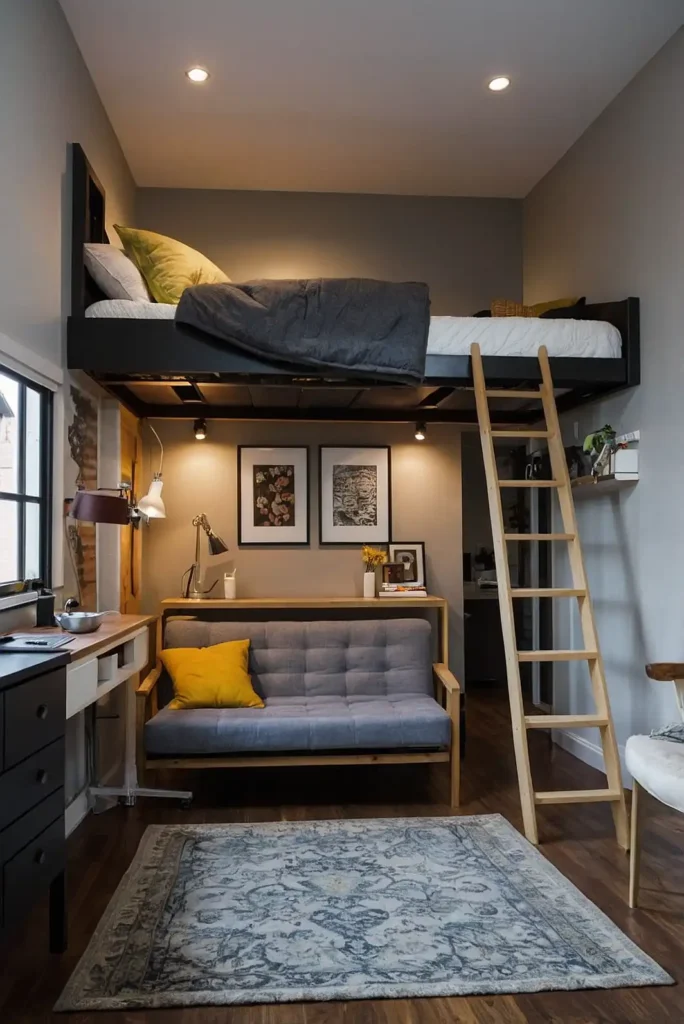
You can double your usable space by installing a loft bed with living area underneath. This creates distinct upper and lower zones.
Use the space below for a desk, seating area, or wardrobe storage. The elevated sleeping area feels private and separate.
Ensure adequate headroom both above and below the loft. You’ll have two functional levels within your single-room studio.
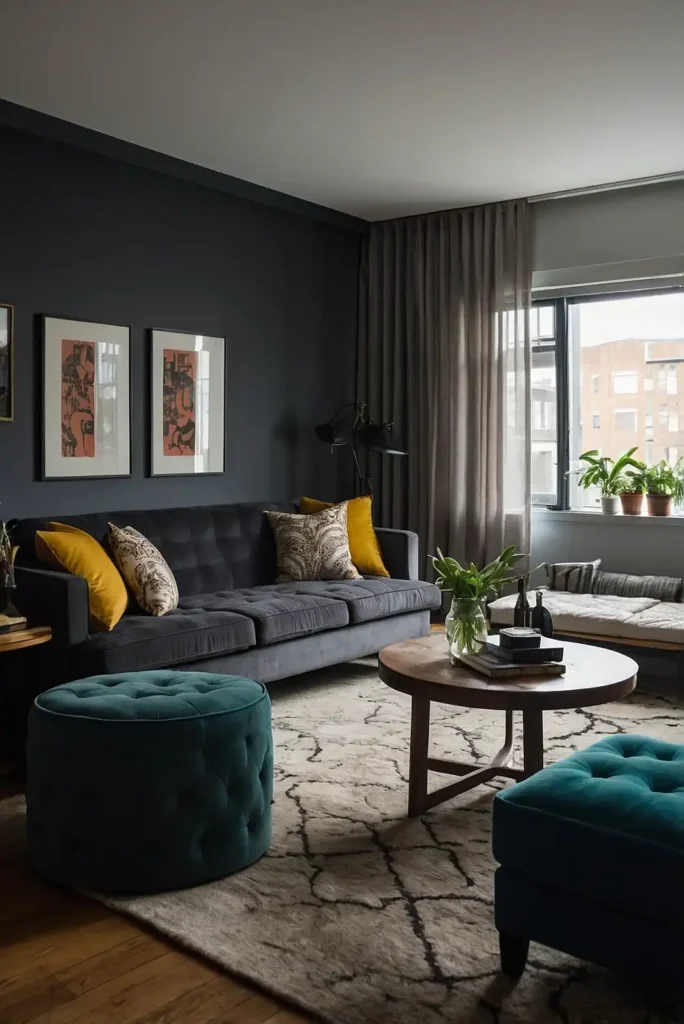
8: Define Zones with Area Rugs
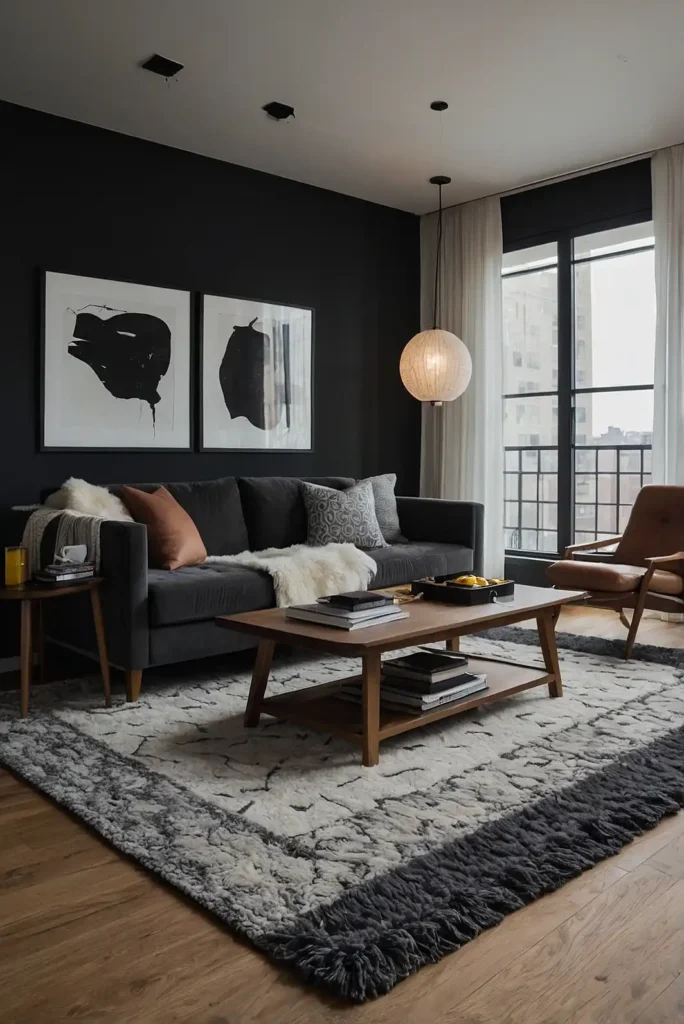
Use different area rugs to visually separate your studio into distinct functional zones. You can create boundaries without physical barriers.
Choose rugs in complementary colors and patterns that work together harmoniously. Each rug defines its own area purpose clearly.
Size rugs appropriately for each zone’s furniture grouping. You’ll establish clear areas for sleeping, living, and working activities.
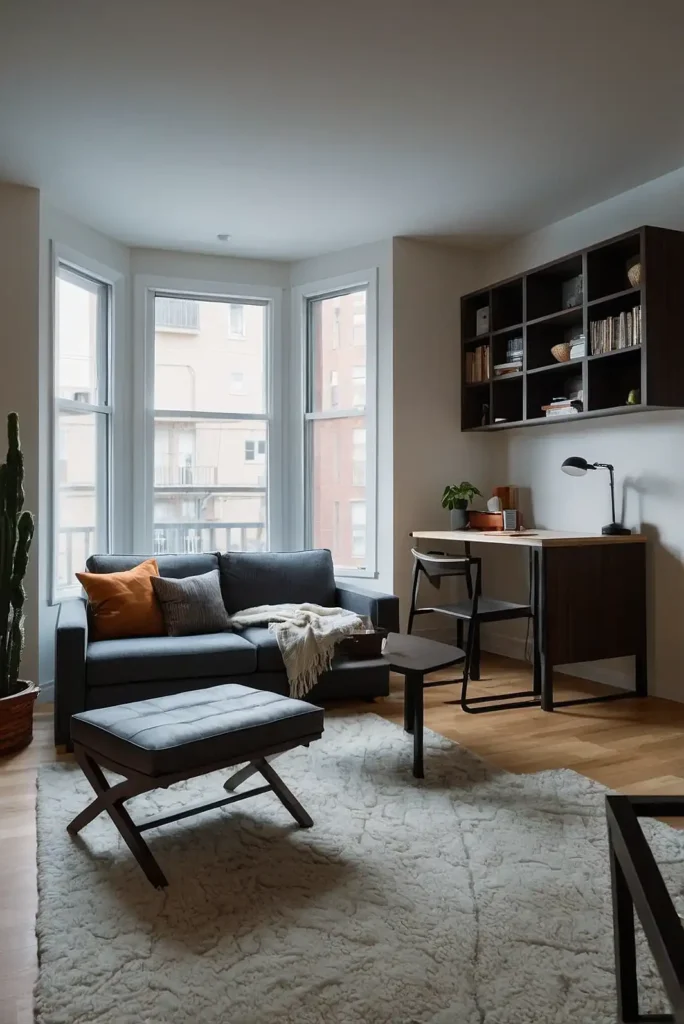
9: Create a Home Office with a Room Divider Desk
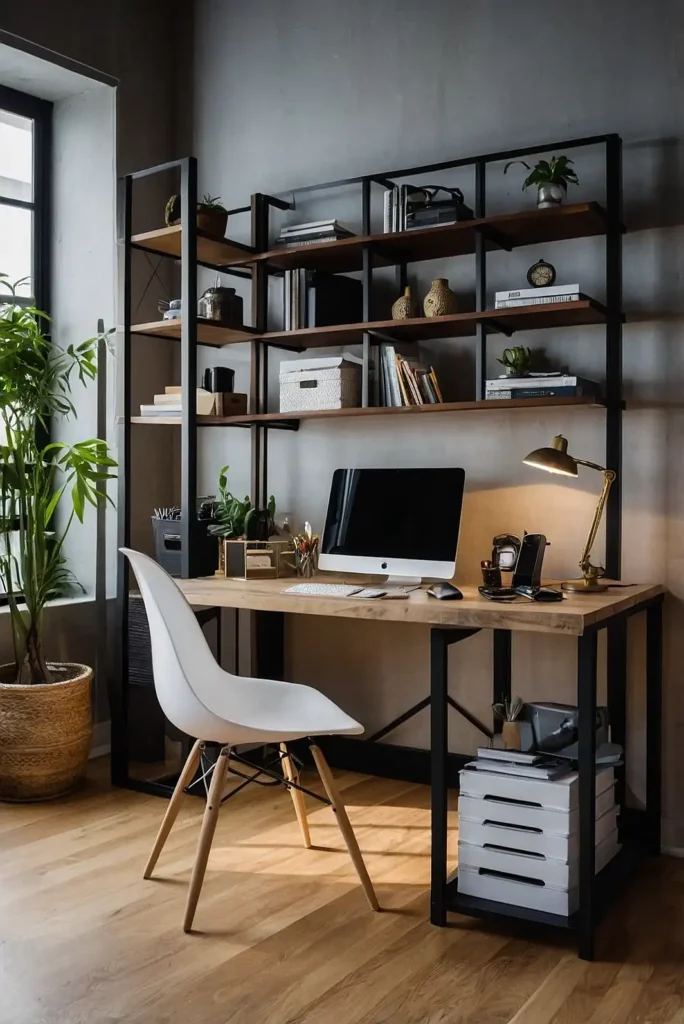
You can install a desk that doubles as a room divider between your sleeping and living areas. This creates a dedicated workspace.
Choose desks with storage compartments to maximize functionality. The workspace becomes part of your layout’s organizational system.
Position your desk to face the main living area for better flow. You’ll have a professional workspace that integrates seamlessly.
10: Use Curtains to Section Off Spaces
Hang curtains from ceiling tracks to create flexible room divisions throughout your studio. You can open or close sections as needed.
Choose lightweight fabrics that don’t block light when closed. The curtains add softness and texture to your space.
Install tracks that allow curtains to slide completely open. You’ll have privacy when desired and openness when preferred.
11: Arrange Furniture Along Perimeter Walls
Keep your furniture along the walls to maximize central floor space for movement and activities. You can create clear pathways through your studio.
This arrangement makes your studio feel larger and less cluttered. The center remains open for yoga, entertaining, or other activities.
Choose wall-mounted storage and floating furniture when possible. You’ll maintain clean lines while maximizing your usable floor area.
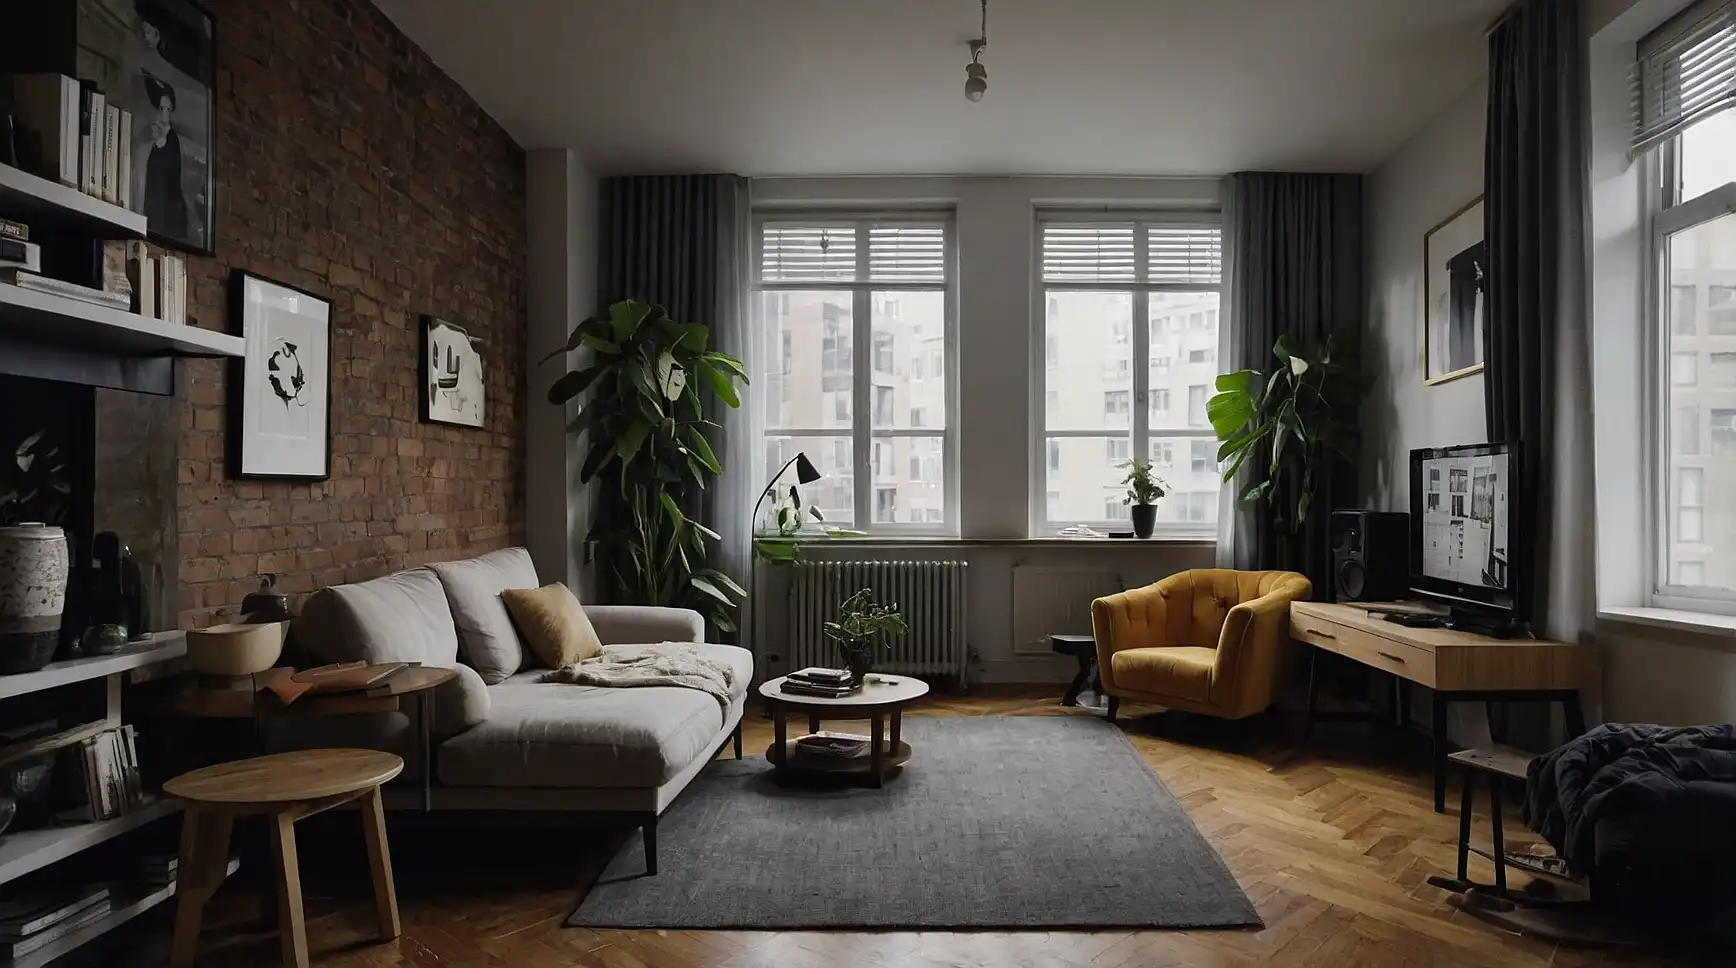
12: Create a Reading Corner with Strategic Seating
You can establish a cozy reading nook using a comfortable chair positioned near natural light sources. This creates a dedicated relaxation zone.
Add a small side table and good lighting for functionality. The corner becomes a retreat within your larger living space.
Choose a chair that complements your overall decor style. You’ll have a personal sanctuary for quiet activities and relaxation.
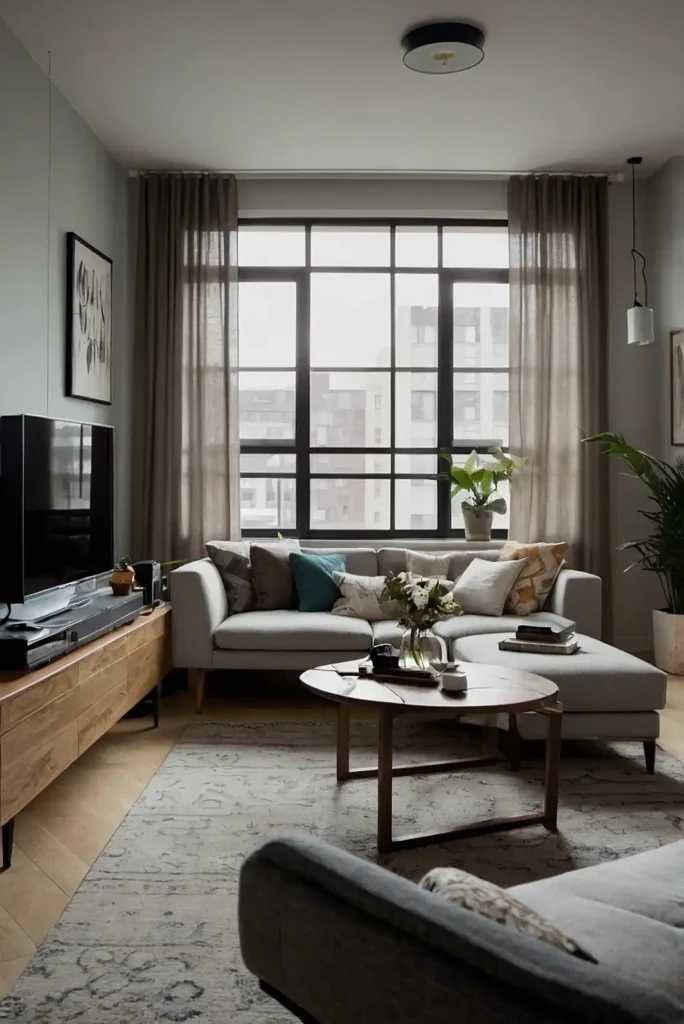
13: Use a Sofa as a Room Divider
Position your sofa strategically to separate your living area from your bedroom zone. You can create distinct spaces while maintaining openness.
Choose a sofa with a low back that doesn’t block sight lines completely. This maintains visual flow while providing subtle separation.
Add a console table behind the sofa for extra storage and display space. You’ll maximize functionality while defining your layout zones.
14: Implement Vertical Storage Solutions
Maximize your wall space with floor-to-ceiling storage systems that draw the eye upward. You can store belongings while making ceilings appear higher.
Choose tall, narrow storage units that don’t overwhelm your floor space. Vertical emphasis creates the illusion of larger dimensions.
Use the top shelves for seasonal items and bottom shelves for daily necessities. You’ll organize efficiently while improving your studio’s proportions.
15: Create a Platform Bed with Built-In Storage
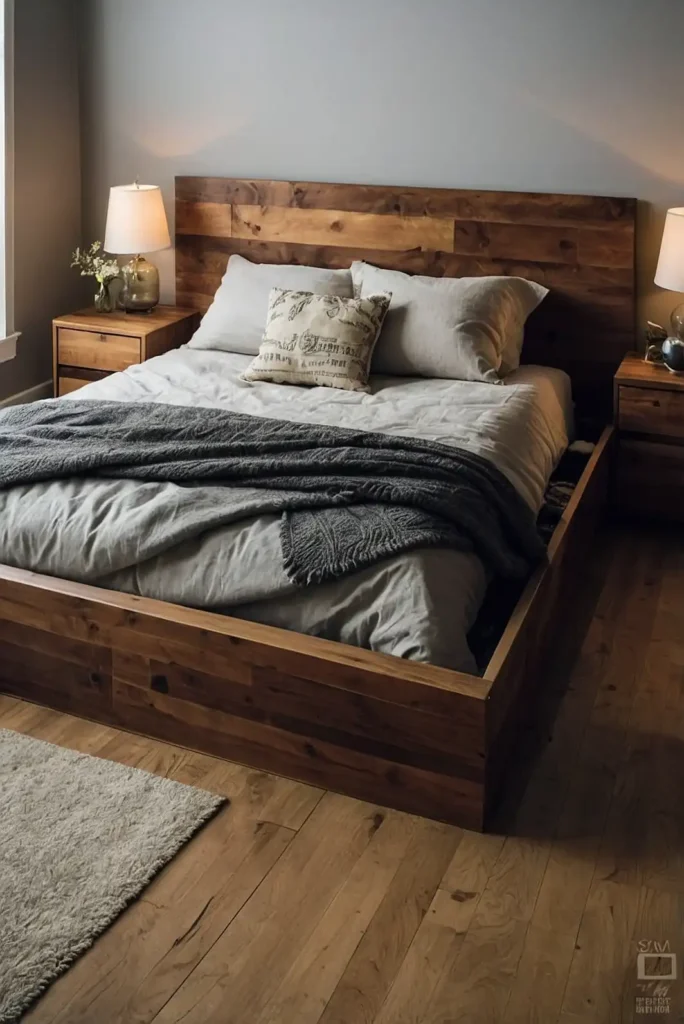
You can build or buy a platform bed with integrated storage drawers underneath. This maximizes your bedroom storage without additional furniture.
The platform design keeps your mattress low while providing substantial storage capacity. You’ll have a clean, minimalist sleeping area.
Choose platforms with easy-access drawers or lift-up tops. You’ll store bedding, clothes, and personal items conveniently out of sight.
16: Use Mirrors to Expand Visual Space
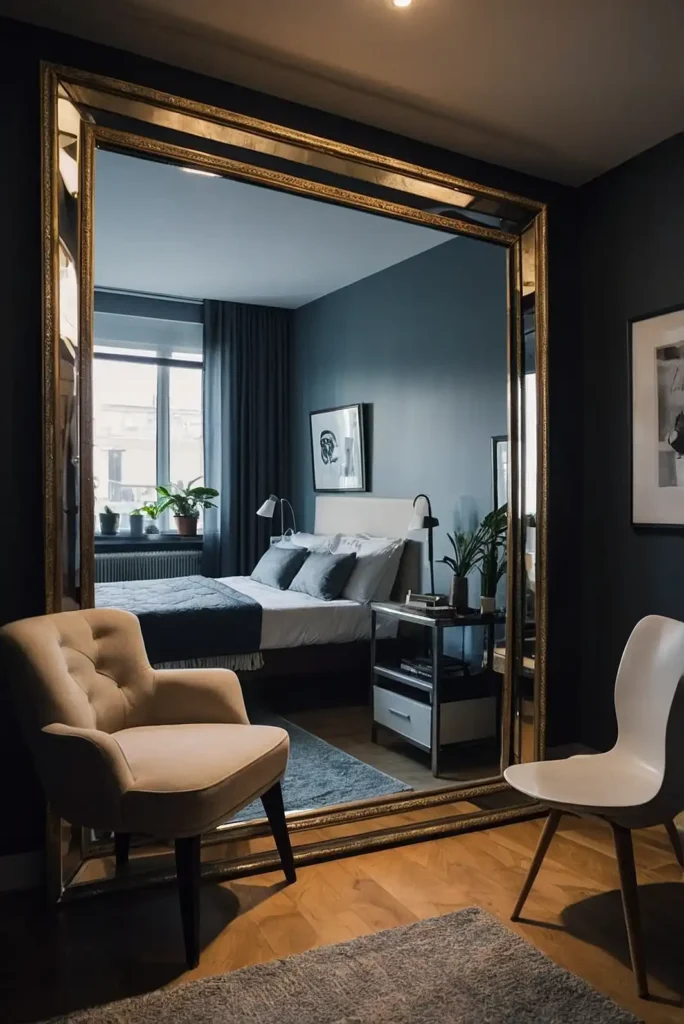
Position large mirrors strategically to reflect light and create the illusion of expanded space. You can double your studio’s visual square footage.
Place mirrors opposite windows to maximize natural light reflection. This brightens your space while making it feel significantly larger.
Choose mirrors with attractive frames that complement your decor style. You’ll add both functionality and visual appeal to your layout.
17: Create a Kitchenette with a Mobile Cart
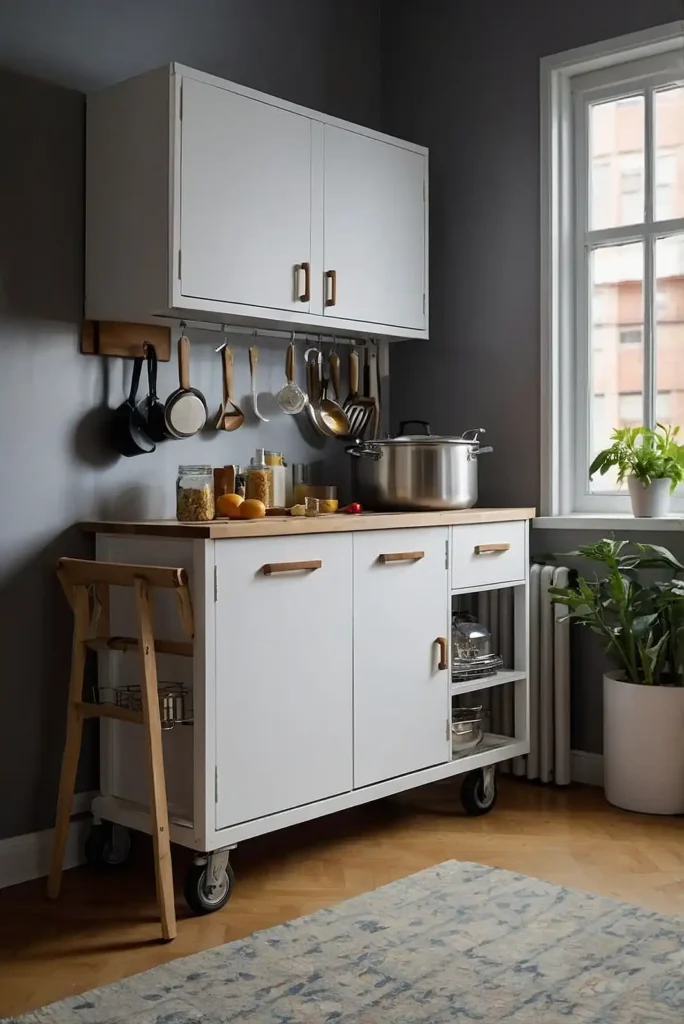
You can supplement limited kitchen space with a rolling cart that provides extra prep and storage area. This adds flexibility to your cooking zone.
Choose carts with multiple levels and storage compartments. They serve as additional counter space when needed.
Move the cart away when you need more living space. You’ll have expandable kitchen functionality that adapts to your needs.
18: Use Folding Furniture for Flexibility
Incorporate folding tables, chairs, and desks that collapse when not in use. You can adapt your space for different activities throughout the day.
Store folded furniture in closets or against walls to maintain clear floor space. This maximizes your studio’s versatility significantly.
Choose quality folding pieces that look attractive when deployed. You’ll have functional furniture that doesn’t compromise your aesthetic.
19: Position Your TV on a Swivel Mount
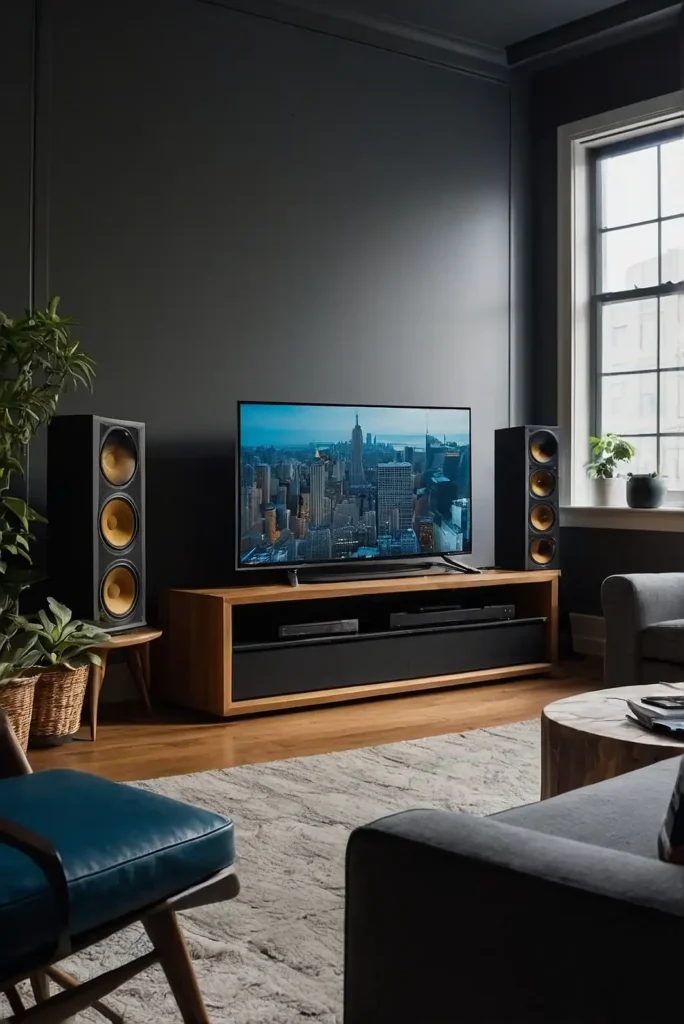
Mount your television on an adjustable arm that swivels between your living and sleeping areas. You can enjoy entertainment from multiple zones.
This eliminates the need for multiple screens or awkward viewing angles. The TV serves both areas efficiently.
Hide cables within the wall mount for a clean appearance. You’ll have flexible entertainment access throughout your studio space.
20: Create Storage Under Your Stairs
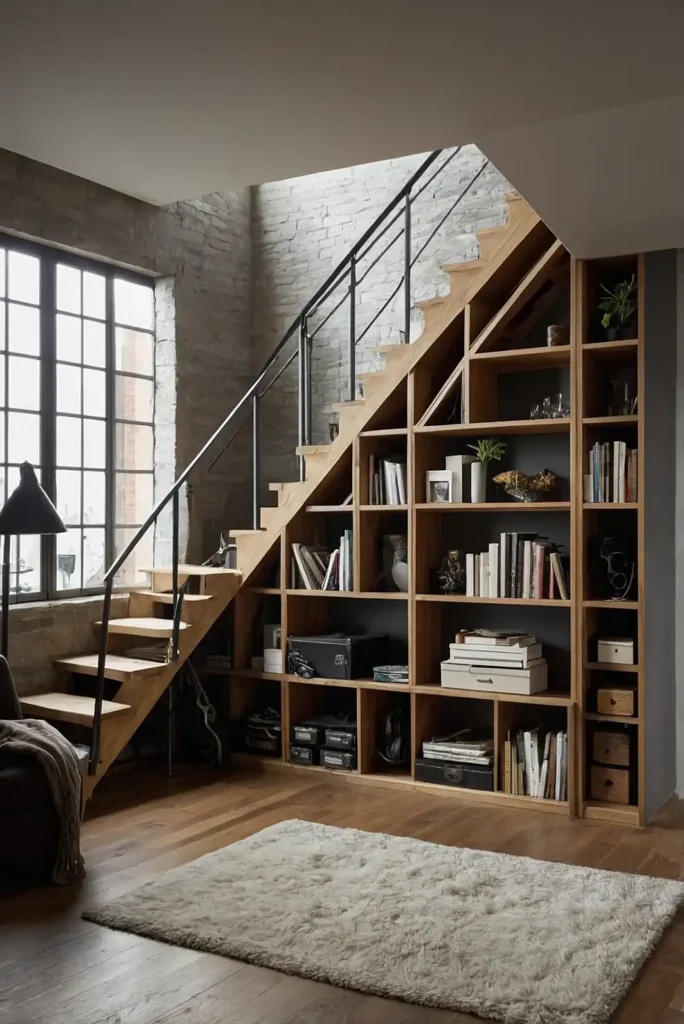
If your studio has stairs to a loft, use the space underneath for custom storage solutions. You can fit shelving, a desk, or wardrobe.
This often-wasted space becomes valuable real estate for organization. Built-in solutions look intentional and polished.
Design storage to match your overall aesthetic and needs. You’ll maximize every inch of available space efficiently.
21: Use a Console Table as a Multi-Purpose Surface
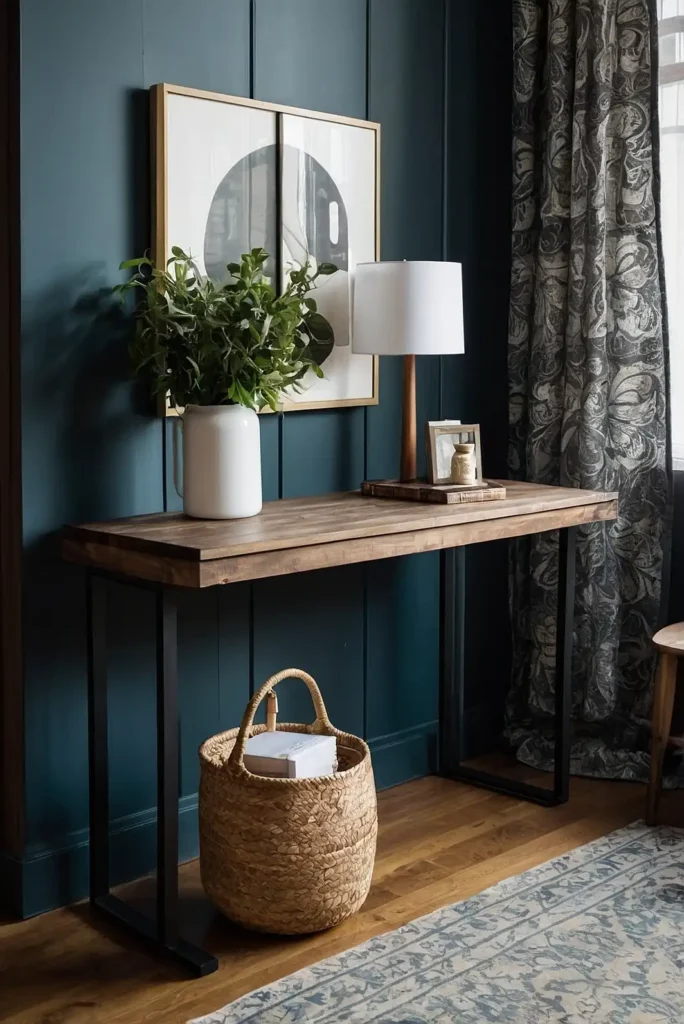
Position a console table that serves as both storage and workspace depending on your needs. You can use it for dining, working, or display.
Choose tables with drawers or shelving for hidden storage capacity. They provide surface area without overwhelming your space.
Style the top differently for various functions throughout the day. You’ll have versatile furniture that adapts to multiple purposes.
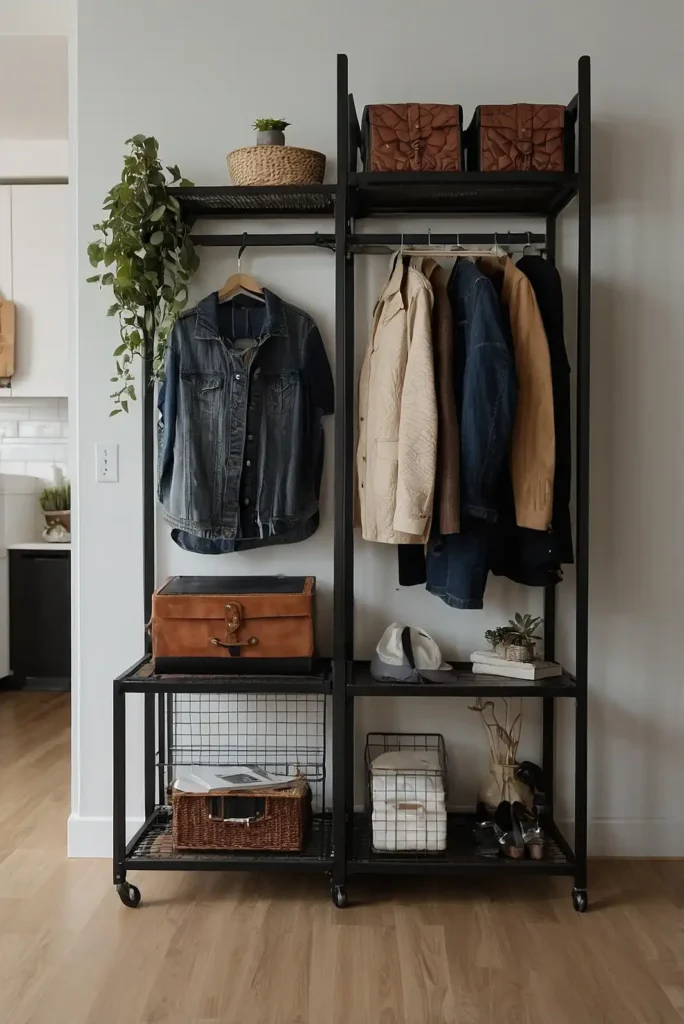
22: Create a Walk-In Closet with Curtains
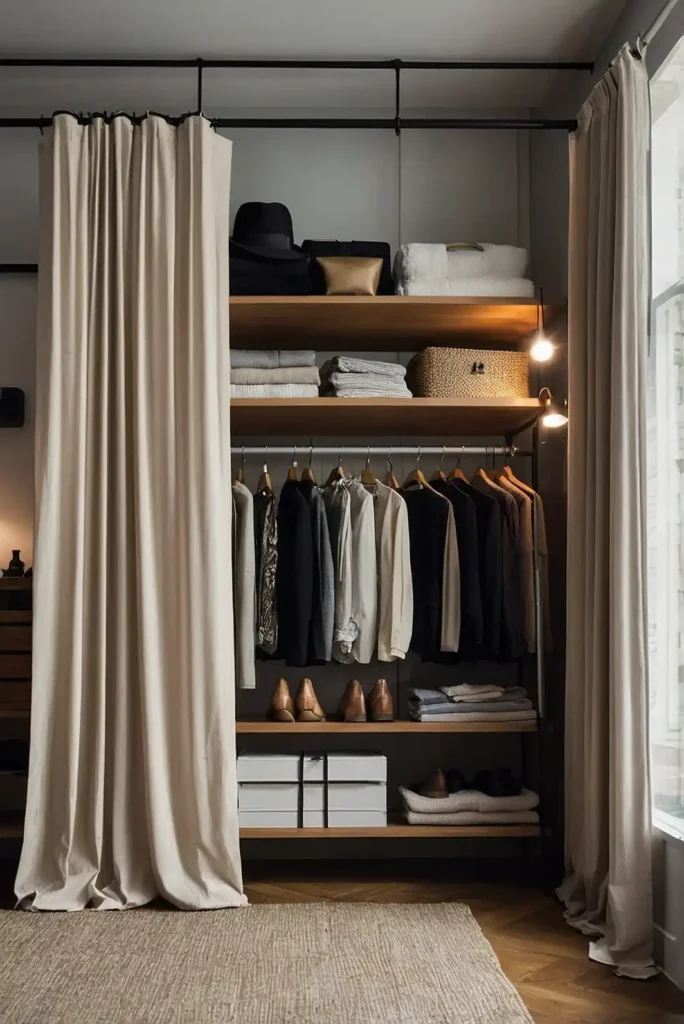
You can section off a corner of your studio with curtains to create a private dressing area. This gives you a dedicated wardrobe space.
Install rods and shelving systems within the curtained area. You’ll have organized clothing storage that stays hidden from view.
Choose curtains that complement your overall design scheme. You’ll add functionality while maintaining your studio’s aesthetic appeal.
23: Use Bar-Height Seating for Space Efficiency
Install a narrow bar-height table against a wall with tall stools that tuck underneath. You can create dining space in minimal square footage.
This setup works well for quick meals and laptop work. The stools store completely under the table when not needed.
Choose stools that complement your design style and color scheme. You’ll have flexible dining and work space that disappears when desired.
24: Create Zones with Different Lighting
Use distinct lighting types to define various areas within your studio. You can establish mood and function through strategic illumination choices.
Bright task lighting defines work areas while soft ambient lighting creates relaxation zones. Each area feels purposeful and distinct.
Install dimmer switches for ultimate flexibility throughout the day. You’ll control your studio’s atmosphere while defining functional spaces.
25: Use Ottoman Storage for Hidden Organization
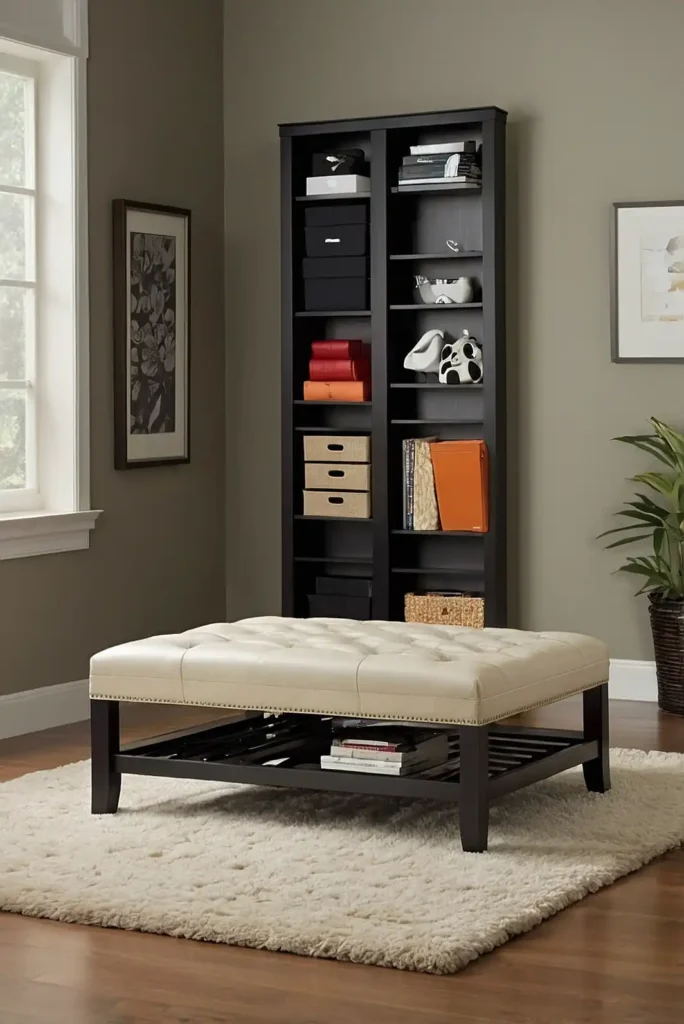
Choose ottomans that open to reveal storage compartments for blankets, books, or personal items. You can add seating while reducing clutter.
Position them strategically to provide extra seating when guests visit. They serve multiple functions without taking additional floor space.
Select ottomans that complement your existing furniture and color scheme. You’ll have attractive storage that enhances your overall design.
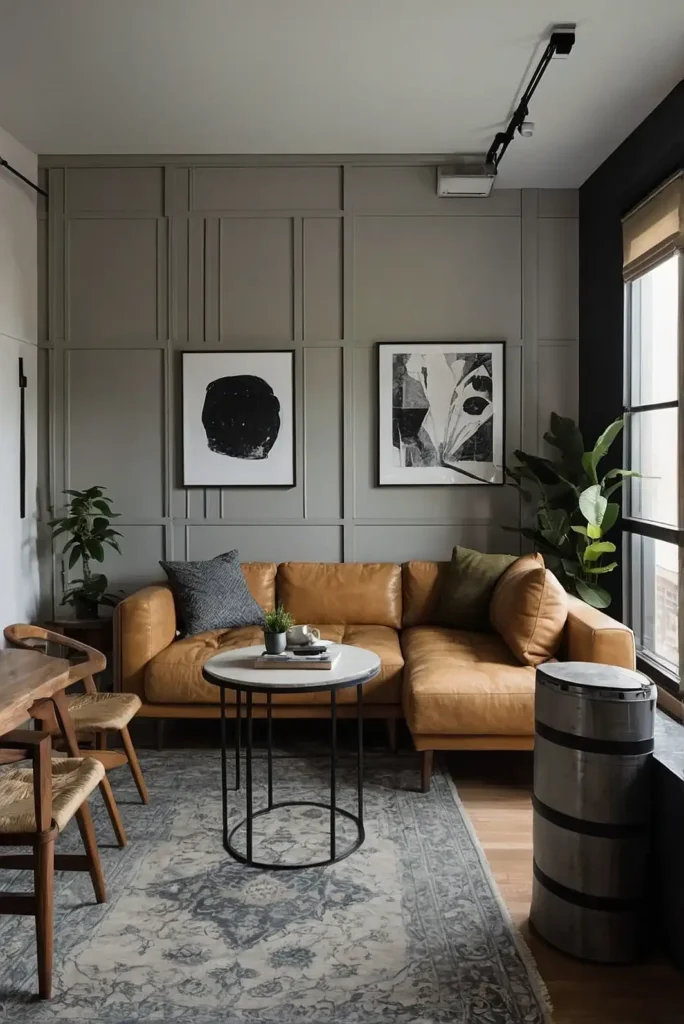
26: Create a Gallery Wall to Define Spaces
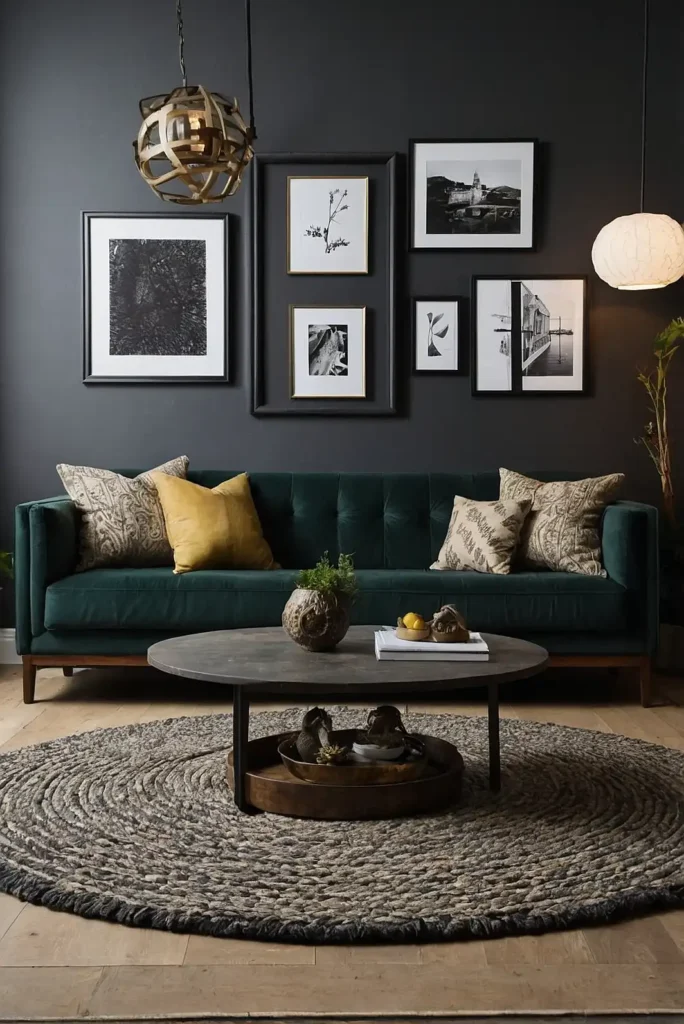
Use artwork arrangements to visually separate different zones within your studio. You can establish areas through strategic wall decoration placement.
Group related pieces above specific furniture arrangements like your bed or sofa. This reinforces each zone’s distinct function.
Choose frames and artwork that work together cohesively. You’ll add personality while organizing your space through visual design cues.
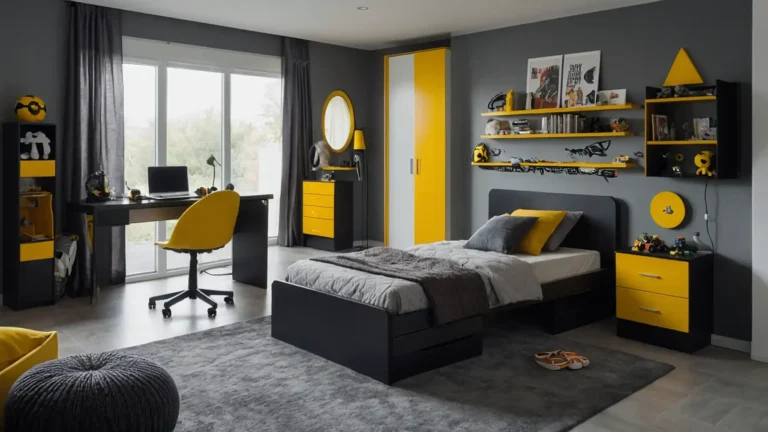
27: Implement a Color-Coded Zone System
You can use different color palettes to distinguish between your studio’s various functional areas. This creates subtle but effective visual separation.
Choose complementary colors that work together harmoniously throughout the space. Each zone feels distinct while maintaining overall cohesion.
Use accessories, textiles, and accent pieces to introduce zonal colors. You’ll organize your space through strategic design choices that feel natural.
Conclusion
Smart studio layouts maximize every square foot while creating comfortable, organized living spaces.
You’ll transform your small apartment into a functional home.